
Have to hand a set of screwdriver pentalobular it is estimated that the most used Ts1 Ts4 and Ts5 depending on the iPhone in question and a spatula spreader screen plastic. One of the repairs easier for a technician is possibly an iPhone, it is the repair of replacement of the screen, for most of the Android needs a separator screen (the fact that it is hot you can put in danger the inner part as the board, if you do not manage to do this with the corresponding temperature). Before attempting this repair, be sure to have a work space free for your iPhone and the screen replacement to work.
For the repair of a screen replacement, it is necessary to completely disassemble the iPhone, so before you begin the repair, I suggest that you get a few small roles in order to identify their parts, especially the origin of the screws. Label these controls in the following manner; rear Screws of metal, aluminum housing and base plate: place them on the work surface in that order, with a small space between them to allow the other components of the iPhone and the screen replacement to rest in.
The tools and equipment needed for this repair are: an opener of boxes, a screwdriver pentalobular small Phillips, a clip to eject the SIM tray and the screen replacement on the iPhone once you have it to hand. Make sure that your hands are clean before you begin the repair.
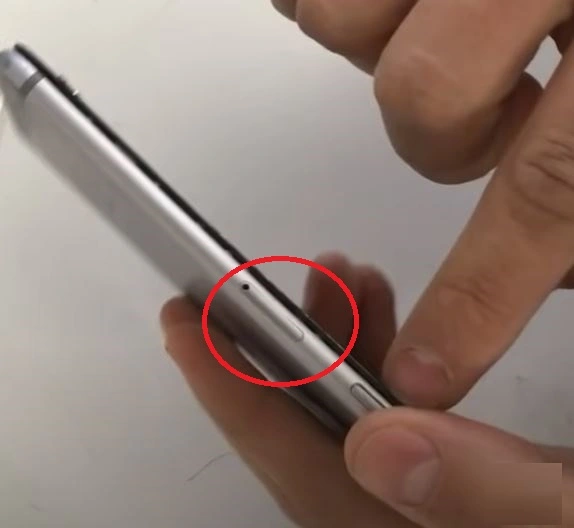
1.First remove the tray of the SIM card; do it by inserting the clip into the hole in the top of the iPhone next to the power button, once the clip is in place, the tray of the SIM card should come out. Place the components together with a paper labels, it is advisable to have these tag as you will assemble again on the iPhone, you're not going to be confused, with the piece that you removed, the label of aluminum foil.
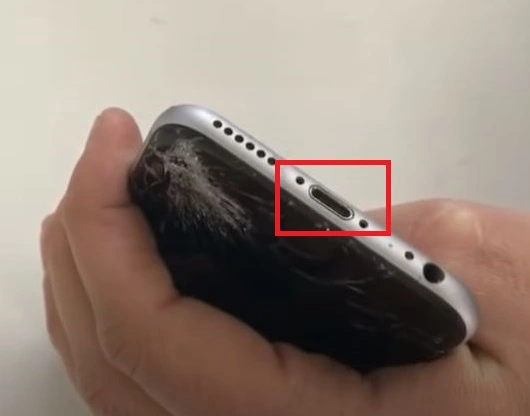
2.Remove the two small screws on each side of the bottom edge, holding the metal box in her place, check if you have another screw that is on the other edges. Place it on the paper label. When you're finished with that, go back to take the opener of the housing and gently slide it down on both sides of the iPhone to separate the back of the frame. main body of the iPhone, not the backend of metal.
3. The repair of replacement of the screen requires caution: requires you to remove the cable from the antenna of the iPhone, which is insured at places with adhesive. You must remove the motherboard at the same time that the battery, as are soldiers with a kind of staple. Once you've done that, you can gently separate the frame remaining on the iPhone.
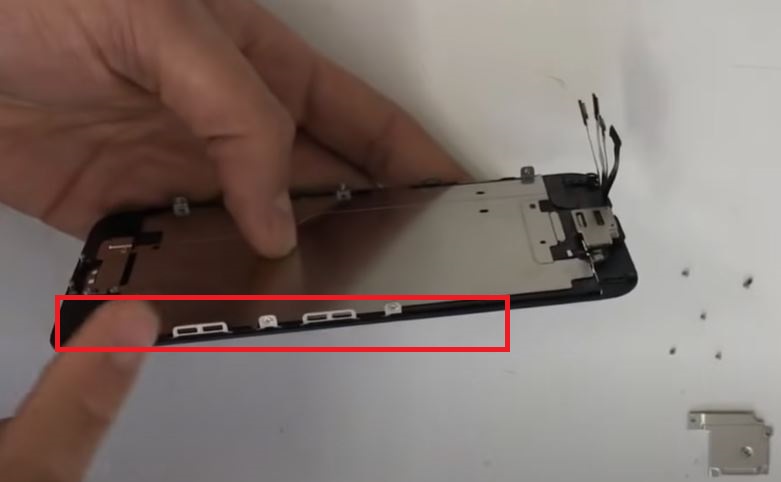
4. Remove the LCD screen to place the replacement screen; this is possibly the most difficult part of the repair, and should be done with extreme caution. Release the 3 clips on the sides of the screen and slowly begin to remove the LCD screen. You will see that some cables are intertwined with the iPhone, put them gently through the frame and glide through. Possibly including the home button and the battery. In each FLEX that emerges from the board are tied together with a bolt and secured with a plate that is very efficient that is the label paper to identify the screws. This is done because each screw has an exact measure, according to the part of the board in which to remove.
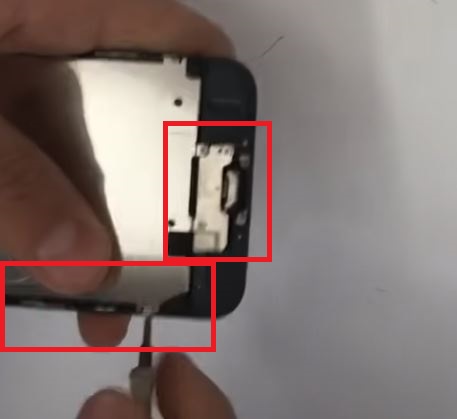
Before you mount the replacement of the screen you have to take the home as if it has not been affected this is achieved by taking also screws the same way the screws are on the sides of the housing of the screen which adjusted wing housing of the cell. The same must be done to remove the spiker or headset. Must have a slope that it censors of proximity are located nearby.
When you have completed this, take the replacement of the screen of the iPhone and place it in the phone. Follow your steps with care to ensure that no mistakes when reassembling the iPhone in their original state. Place the screws identifying the same way as they were removed, and to take the necessary time in order not to commit an error.

In conclusion, replacing the screen of an iPhone, it is essential to follow each step with precision to avoid errors and to ensure proper mounting. Check out properly on the Home button, earpiece and proximity sensors is key to the optimal functioning of the device. In addition, identify and re-position each screw to its original position helps to maintain the stability of the computer. With patience and attention to detail, you'll be able to restore your iPhone safely, ensuring its performance and prolonging its life.